So this post has been a long time coming. My “How to Soundproof an Apartment with a Piano” post from a more innocent time (2013) is one of the top hits of this blog, and since writing said post I have learned so much more about making a home with musical instruments (and moved a whole bunch of times). “Write a better, updated post” was on the mental to-do list in the neglected back office of my brain for years.
Getting around to crossing that particular item off my to-do list was not on my list of priorities last week, and then I made a terrible life decision. I visited Apartment Therapy.
I stopped reading Apartment Therapy years ago when I realized the writing was terrible and the advice so-so, but sometimes the “I Want to Live in the West Elm Catalog” bug bites you and you will do anything to scratch that itch. I was delighted when I saw a post titled “7 Ways to Make Your Musical Instruments Feel Like an Intentional Part of Your Design Scheme.”
Just to make it clear, there is a market for articles like this. The world is full of nerds and dilettantes and, oh yeah, actual working musicians with instruments of all sizes, trying to figure out how to integrate things that produce large sound vibrations into their homes in the way that makes at least some sense. I have wrapped my brain around the placement of a grand piano and multiple keyboards in half a dozen apartments now, each time wondering why it was so difficult to solve a problem that surely other people had figured out.
Unfortunately, the Apartment Therapy article was a nasty surprise—beyond not remotely addressing issues with acoustics, it straight up recommends ruining your instruments, as you may have seen in a Twitter thread I popped off. I will save my unpleasant opinions about Apartment Therapy’s content-churning ethos for another time and just tell you, blog reader, this: FOR THE LOVE OF GOD, DO NOT DO ANY OF THE THINGS IN THAT ARTICLE.
Before we go on: I hesitate to make sweeping recommendations to all people with all instruments, but I’m writing this guide because 1) my Twitter replies indicated that a lot of people could use a guide like this and 2) I’m definitely a hell of a lot more qualified than Apartment Therapy. In addition to being a professional classical pianist, I played the violin, took a course on acoustic physics in college (and then promptly forgot a lot of it; please note I am NOT an acoustics engineer), have a visual arts background, and minored in design.
Those are my “credentials”—you can make the educated decision whether or not to take my advice.
I’ve loosely organized this post into sections, based on a hierarchy of priorities:
- Is Your Instrument Going to Be Okay: how to not ruin your instrument; folks, this supercedes everything else.
- What Do You Do With All That Sound: some quick and dirty basics of acoustics and soundproofing that you should keep in mind when incorporating musical instruments into your home.
- Actual Tips on Actual Design With Actual Intention: with a bonus rant on what design actually is, I give actual, practical recommendations for designing your decor around your instrument.
I’ve written this as broadly as I can, and the “expertise level” basically goes up as you read; if you’re not a musician, the first two sections may be really helpful, while professional musicians can probably skip the first two sections completely. Feel free to skim or skip over things as they apply to you, and remember, this is a guide based on my own personal experience and expertise; your needs may vary.
Is Your Instrument Going to Be Okay
Note: this section is going to be very piano-focused, as pianos are essentially immovable instruments, and if you’re a professional musician, you know your instruments’ needs best. Non-pianists/people who already know their shiz, feel free to skip ahead to the next section.
Before you start thinking about the most aesthetically pleasing things to do around your instrument, you have to consider the practicalities: which place in your home is the least likely place to screw your instrument up?
Think of any instrument not as an object but as a pet: it’s happiest and healthiest under specific conditions, with its caretakers monitoring it constantly and giving it regular checkups from “medical” professionals. I get really annoyed at people who treat their pianos like furniture, when in fact pianos are extremely sensitive and require really specific environmental conditions and constant maintenance.
If you’re not willing to think of your instrument that way…well then we have a problem.
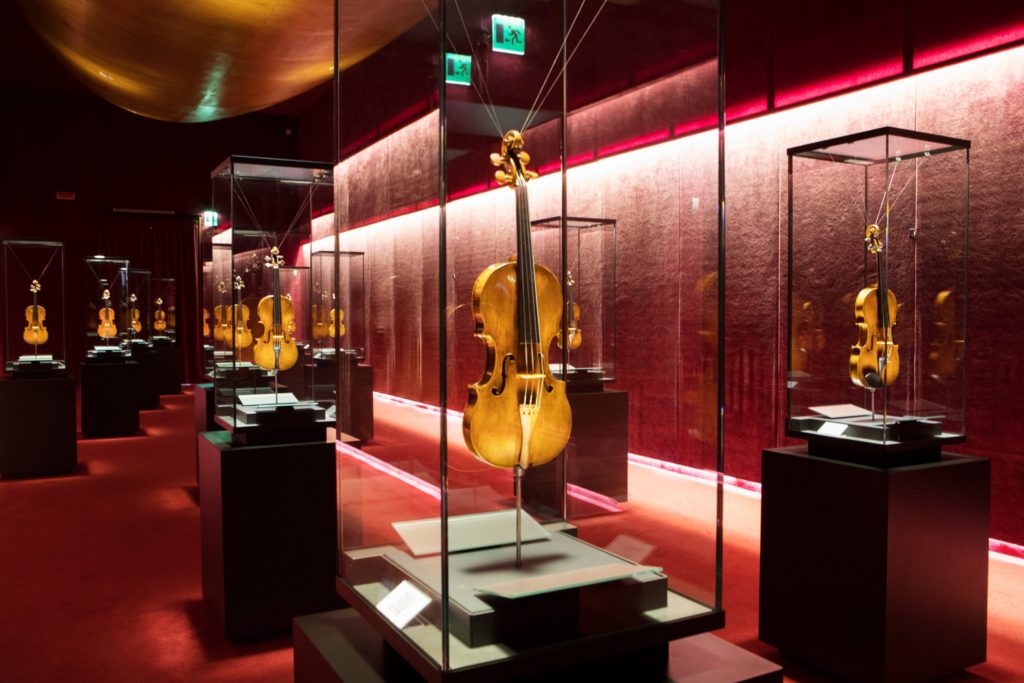
Instruments made of metal and organic materials (which wood definitely is, even when it’s lacquered)—are very sensitive to light, heat, and humidity. So when deciding where to put your piano or keep your violin/cello/guitar/whatever, you have to look for a spot in which those factors are as consistent as possible. If you don’t have such a spot, you’ll have to regulate or mitigate those environmental factors as much as possible.
- If you play an instrument that goes in a case, keep it in the case whenever you’re not playing it, and store it in a cool place away from heat and light. The case will do a lot of the metaphorical heavy lifting for you in terms of minimizing temperature and humidity changes. Temperature and humidity fluctuation, as well as exposure to direct light, will screw with tuning and damage your instrument over time.
- Some stringed instruments also don’t do well with constant exposure to air. (So hanging your violin up on the wall is a huge no-no.) In addition to the dangers of light, temperature, and humidity addressed above, the air can react with the natural oils left by your hands, corroding the metal of strings and the varnish on wood. Keeping your instrument out in the open also increases the chance of dust and other particulate gathering inside, which, if you’re keeping up, is also not good for it.
- Yes, your piano looks very Instagrammable in front of a large open window, but direct light and [gestures vaguely outside] all of that is not good for it. If your piano is by a window, keep it closed as much as possible and get shades or curtains to block the heat or light. Do not let direct sunlight hit your piano for extended periods of time; baking on a daily basis is not. good. for. it. Oh, and do NOT put potted plants or vases on your piano, because water.
- If you have heat and air conditioning, maybe even a fireplace, well, lucky you! Do not keep your instruments near heat or cooling sources. If a vent through which hot or cold air comes through is right by your piano, you gotta block that vent. (A former piano technician I worked with recommended taking the vent out, covering it with aluminum foil, and popping it back in.) If your piano is in front of a fireplace, guess what: that fireplace is purely decorative now and you are never going to use it. Sorry, I don’t make the rules.
- I realize you may not have much choice over your apartment layout, particularly if you live in an older apartment in a city, but keep your instrument as far away from the bathroom as possible. Water and humidity are—guess what—not good for it.
There are a couple more considerations when it comes to placing your instrument, like, you know, where the sound goes, which we’ll cover in the section on acoustics.
P.S. If you have a piano and are properly invested in taking proper care of it, I recommend reading The Piano Book by Larry Fine.
What Do You Do With All That Sound
Note: this section addresses acoustics and soundproofing for the sake of everyday practicing in a home; it is NOT designed for creating a home recording studio! That is a whole other can of worms, where the worms each have weird specific needs.
Now that you’ve established that your instrument is not going to die of heat stroke, let’s think about the reason instruments exist: to make sound. (Funnily enough the Apartment Therapy article seemed to overlook this. Totally understandable, as “making sound” is a very forgettable feature of musical instruments.)
First, some super-basic things to know about acoustics:
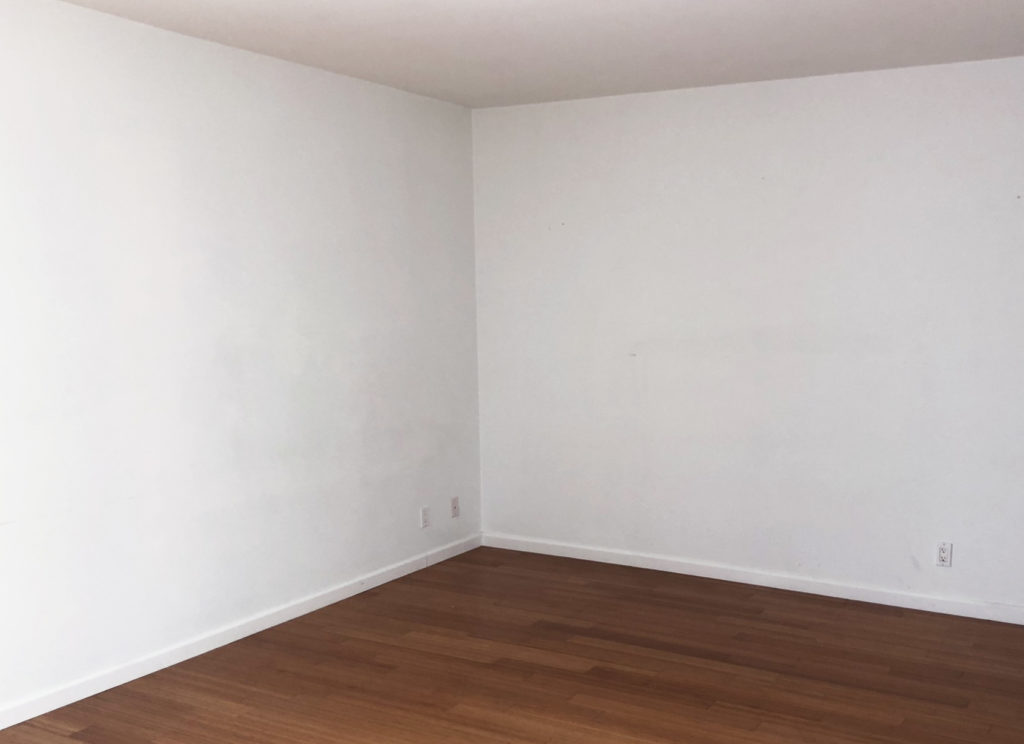
The worst environment for sound to bounce around in is in box-shaped spaces with straight walls, which basically describes 99% of residential rooms (and most practice rooms, for that matter). That’s because with parallel walls and right angles, sound waves will just reflect into themselves, creating weird echoes and nodes. You’ve probably experienced it, even if you don’t know what you’re hearing or don’t have a trained ear; it’s the aural equivalent of light glare hurting your eyes.
The rule of thumb is that you want to absorb and refract the sound as much as possible—both to create the least unpleasant aural experience for your own practicing as possible, as well as to minimize sound waves that may bother your roommates or neighbors. I’m guessing you’re unable to physically change the angles of your walls, and it’s likely you don’t have the luxury of thousands of square feet of airspace to work with, so absorbing sound as effectively as possible is the way to go.
Now let’s talk about ways you can absorb sound. I’m assuming that the vast majority of you are living in a shared space or community; very few of us get the luxury of living as single residents of standalone homes. So these tips are based on the assumption that you’re looking to minimize as much sound as possible. If you’re a homeowner looking to maximize resonance and turn your living room into a concert hall, this is not your guide.
- Textiles like rugs and curtains are hugely beneficial, both for preventing sound from bouncing off your walls and floors, and also for soundproofing. If you’re committed to that Serious Acoustic Life, the sound absorbing panels I mentioned in my soundproofing post can be layered under your rugs; I want to caution though that they’re 1) absurdly heavy and therefore difficult to work with and 2) aren’t actually soundproof. I had two of them sandwiched under two rugs underneath my grand piano in one apartment and would still get texts from my downstairs neighbor whenever I practiced her favorite pieces. They’re best for dampening vibrations, but won’t fully block sound.
- Remember that all instruments create vibrations, and all materials will vibrate at certain frequencies. Metal, glass, and certain plastics are especially prone to buzzing and rattling. Be cautious about hanging glass and metal frames, plaques, or sculptures on the wall above or around the piano or wherever you may practice your instrument. And for the love of all that is holy, do not pile picture frames and vases on your piano! (Ahem.)
- If you have a piano, definitely get caster cups! They’ll minimize the damage a piano can inflict on your floors, and rubber-filled cups will keep vibrations from being transferred through the piano’s legs into the floor. (They won’t do anything for sound waves from the actual soundboard.)
- For my pianists again: consider where you’re placing your soundboard. If you have a grand piano, the sound is going to travel straight down; this is not great if you have downstairs neighbors. (If you do, and need to take more extreme measures to dampen the sound, read on.) For upright pianos, the soundboard is the entire back of the piano; what this means is that if you push your upright piano against the wall, as most people do, that entire wall essentially becomes one big soundboard. So if you have the option, avoid putting your upright piano against any shared walls.
- In some extreme cases, you may need to straight up muffle your piano’s soundboard. (Pianos can be very loud, which FYI is a feature and not a bug, but your neighbors may not think so.) I have, in the past, stuffed pillows, extra blankets, and baskets of linens/towels under my grand piano to absorb as much of the sound as possible, and yes, this means I was basically using the space between the floor and the piano as a linen closet. I have also layered blankets over the closed lid of the piano (which I can only imagine made it feel safe and cozy). If you have an upright, you may consider tying a blanket across the back to muffle the soundboard. Whatever you do, please remember to use soft materials: no wire, metal, or wood, and for the love of all that is holy, do not nail, staple, or tack anything into the piano.
- Finally, the best soundproofing advice I have to give is this: consideration is your best defense. Don’t practice early in the morning or late at night (check your lease terms for defined quiet hours; most leases have this), and remember that your neighbors or roommates may prefer to sleep in on weekends and holidays. When you move into a new place, introduce yourself to all the neighbors you share walls, ceilings, or floors with. Bring cookies or a little gift or something, look decent, and be as nice as you can manage. It’s a lot harder for neighbors to complain about your practicing when they’ve already gotten to know you as, you know, a person. They’ll be much less likely to see you as a noisy asshole (unless you also happen to be a noisy asshole in person, in which case I can’t help you).
Actual Tips on Actual Design With Actual Intention (Plus, What is Design, Anyway?)

Before we get to the actual, helpful tips, I wanted to say a quick something about what design actually is. Design is NOT just about making things aesthetically pleasing. The crap these home bloggers are pulling, with the painted pianos and the layers of noisy rattling junk layered on said pianos? That is not design, because those aesthetic decisions are ones that sabotage the basic function of the thing they’re supposedly elevating. If your form completely obliterates function, that is bad design.
Design is about usage, not about how visually pleasing you can make something. Function always, always, always takes precedent over form; that’s why, in the organization of this post, the visual tips are the least important.
Design is how you execute your vision with thoughtfulness for how your creation is going to be used; design is how you answer the question of how others will interact with the space, product, or idea you create. It’s not about how nice you can make a three-dimensional space look from one specific angle in one frame on Instagram. In terms of the focus of this post—musical instruments—you cannot undermine a musical instrument’s ability to make music in the name of “design.”
Yes, creating something that integrates into your life with a high level of thoughtfulness and knowledge about usability, and looks aesthetically pleasing, is really, really hard! Welcome to the world of design. This is why degrees in design exist. This is why design professionals charge money.
This is why, if you’re going to make musical instruments a part of your home, you adapt your home to the instruments, not the other way around. If you can’t reconcile the function and needs of an instrument with how you want your space to look, you need to take a step back and seriously examine why you’re bringing instruments into your space to begin with. Put the damn paintbrush down and step away from the piano.
If you aspire to be seen as the type of person who has a home full of music, but don’t care to understand what kind of work and care you have to put into creating that music, be realistic with yourself: you are not going to fool anyone. Using musical instruments as decoration, while telling people that they’re a part of your home because you are a ~*family that makes music*~, says a lot about who you are as a person, and it’s not what you want people to think. If you want something to hold tchotkes and plants, I have great news for you: shelves exist.
Okay, rant over! Let’s get on to some basic design principles.
- I’m guessing that people are painting their poor pianos in a sad attempt to resolve a visual element that stands out from its environment. If something about your instrument doesn’t fit with the rest of your visual scheme, identify the characteristic that makes it stand out, and introduce two other visual elements that have that characteristic. Why two? It’s the rule of threes: one anomaly is an accident, two is a coincidence, three is a pattern.
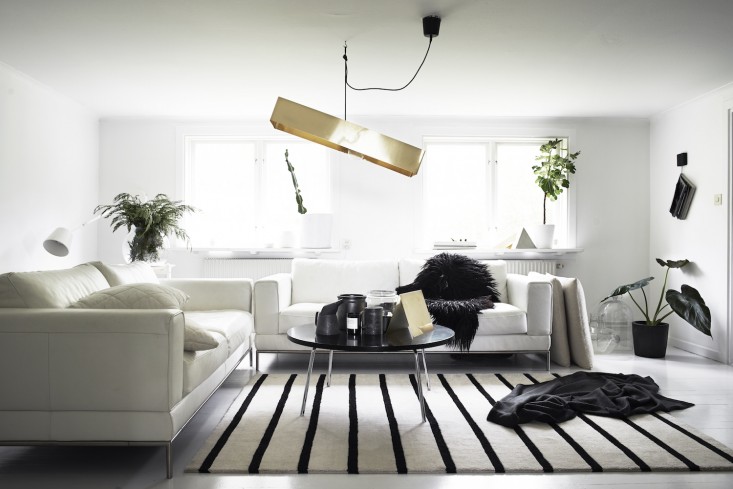
- Here’s an example. Say you have a black piano, but your living room is an all-white scheme. Bring in two black elements: a rug with black stripes, and a plant in a black pot. Or, say you have an old brown spinet piano, and the rest of your space is really modern. Bring in two other vintage elements, like an Oriental rug (they go surprisingly well with modern finishings!) and a vintage print or poster, which you can put in a minimalist frame, to tie in the blended-old-and-new look.
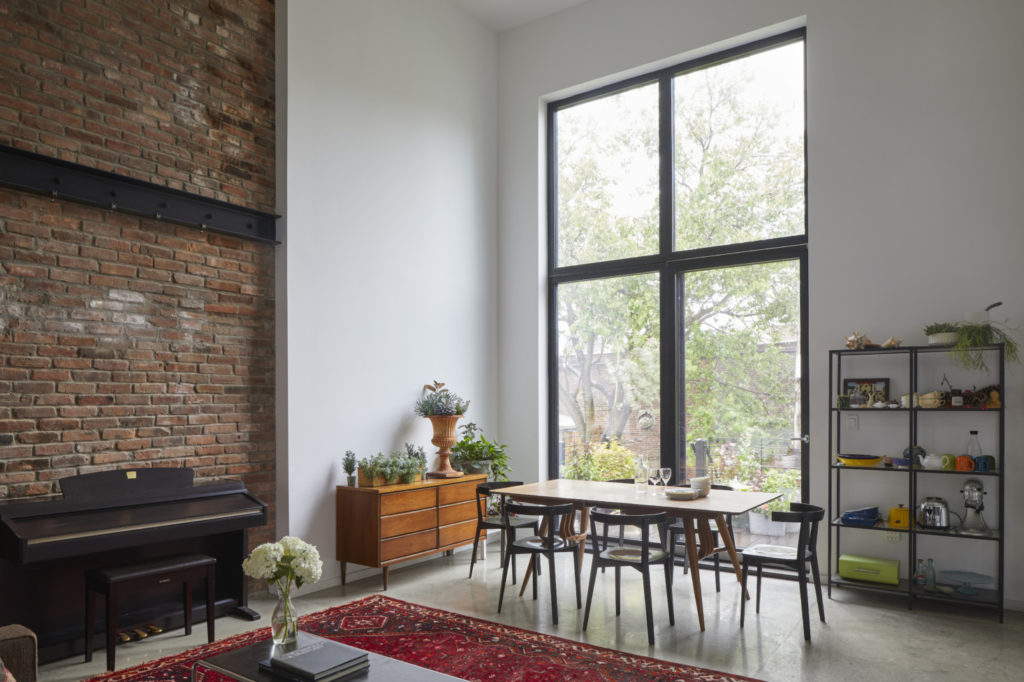
- Intention comes from deliberate, thoughtful arranging, not just color-matching. A problem I am well aware of, because it is my life, is that it can be really difficult to make your big-ass instrument look visually integrated in your living space. The solution to that, though, is not to paint your piano to match your sofa!! This is where we get into composition: how you place objects so everything looks “intentional.”
Pushing an upright, digital piano, or keyboard against the wall and calling it a day—particularly if you follow my advice and don’t put anything on the keyboard or the wall above it—can make the space look like it belongs to a 20-something single guy with a mattress on the floor. The key here is to frame it in a way that looks deliberate.
If you have a keyboard on one of those foldable stands, it might help to get or build a more polished-looking stand (make sure it fits your keyboard model). If you have the space, surrounding the keyboard/piano with vertical shelf units (great for storing sheet music/supplies, and resting your water glass while you’re practicing) is a good way to make it look like it intentionally belongs in the space. Or, if it’s space/cost-prohibitive to get shelves, put a little end table and chair nearby.
If nothing else, the existence of a rug always says “the things placed on this are totally meant to be here,” so if you’re totally clueless, just slapping a rug under your piano (or keyboard, or harp, or the chair you sit on when you practice euphonium) will make a big difference.
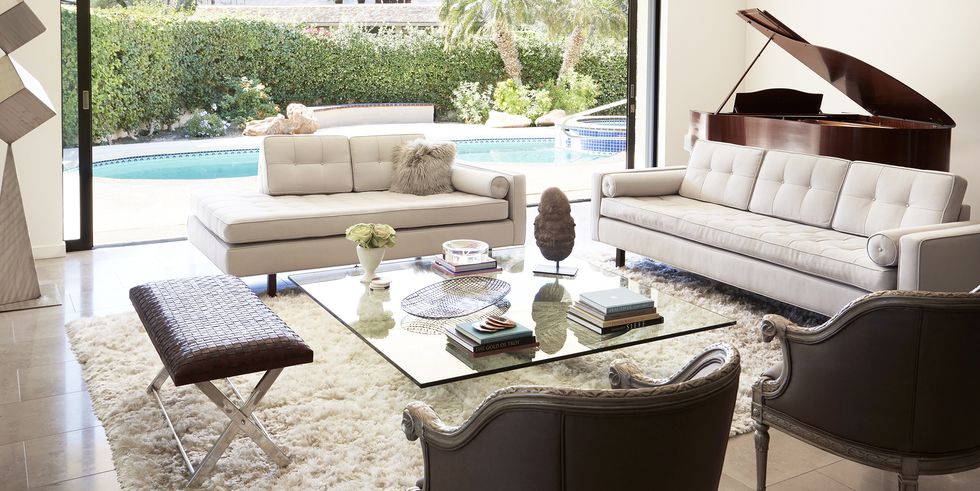
- My opinion—take it or leave it—is that a little bit of effortlessness, or even haphazardness, in your interior design can be good! A space with some mismatched elements is, IMHO, more comforting and natural-feeling than a place where all the components are torturously matched to each other. If it’s obvious you’ve painstakingly overpolished and overthought your space, it’s going to feel unnerving.
Also, don’t forget that your brain understands the meaning of things and will override minor visual dissonances. It’s like how you’re not supposed to wear brown and black together, and yet no one has ever been bothered by a brown-haired person wearing black clothing. Your brain will get it.
Those were my overarching, general design philosophies—rule of threes, intentional placement, effortlessness—but I’m guessing you probably need some specific decorating ideas as well. Don’t worry, I got you.
7 Actual Design Ideas for People With Instruments
First of all, you know your practice needs best, and everything I’m offering here is 1) based on my personal experience and 2) suggestions, not rules. If you have specific needs, go forth and address those needs. Don’t commit to some convoluted, impractical, expensive set-up just because some random person with a wifi connection told you to do so.
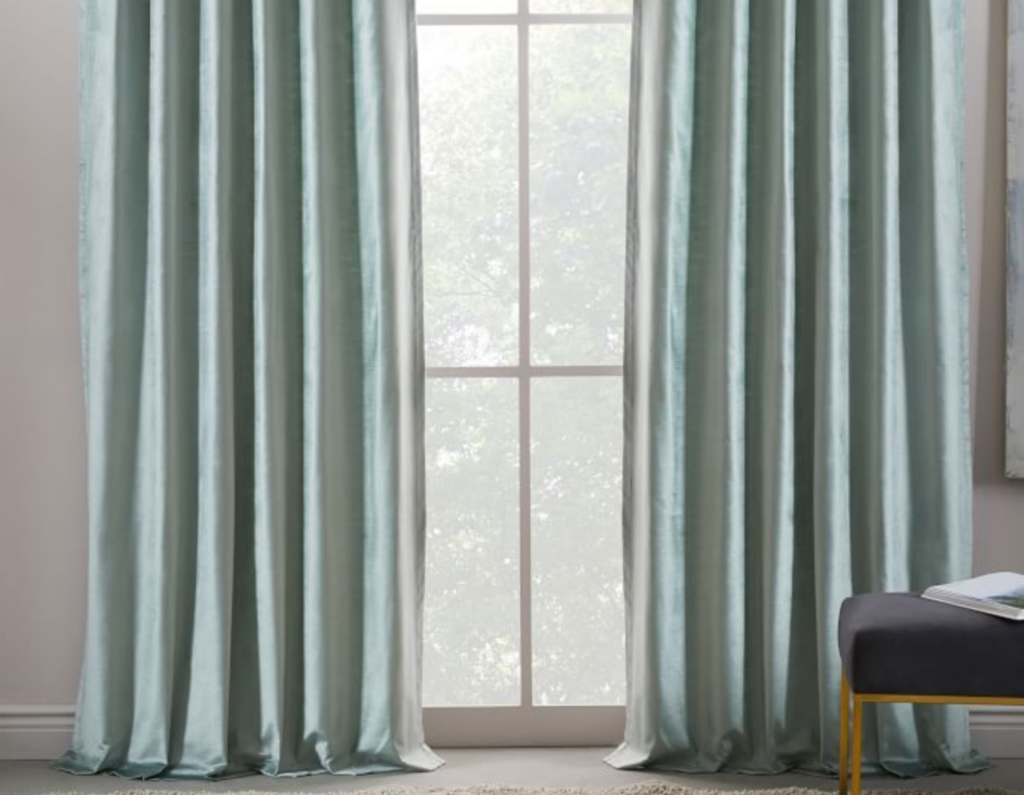
- Get your textiles in there. If you don’t have carpet, get a rug down on the floor so you’re not sending sound waves bouncing off the ground. If you’re practicing by a wall or in a corner, get some curtains up on the wall. The IKEA DIGNITET curtain wire is cheap, adjustable, and effective, and you can get curtains premade or DIY them pretty easily. As of 2019 velvet is in, which is awesome as it’s a really effective sound absorber, so go forth and be extra. (You can get pre-made velvet curtains from West Elm, Bed Bath and Beyond, Pottery Barn, CB2, and more.)
- We all have different chair situations, but if you play an Instrument That Requires Sitting I highly recommend having a dedicated chair for that purpose. Keep it in the space where you practice; visually speaking, there’s something about a single chair in a spot that makes the layout of a space look truly intentional.
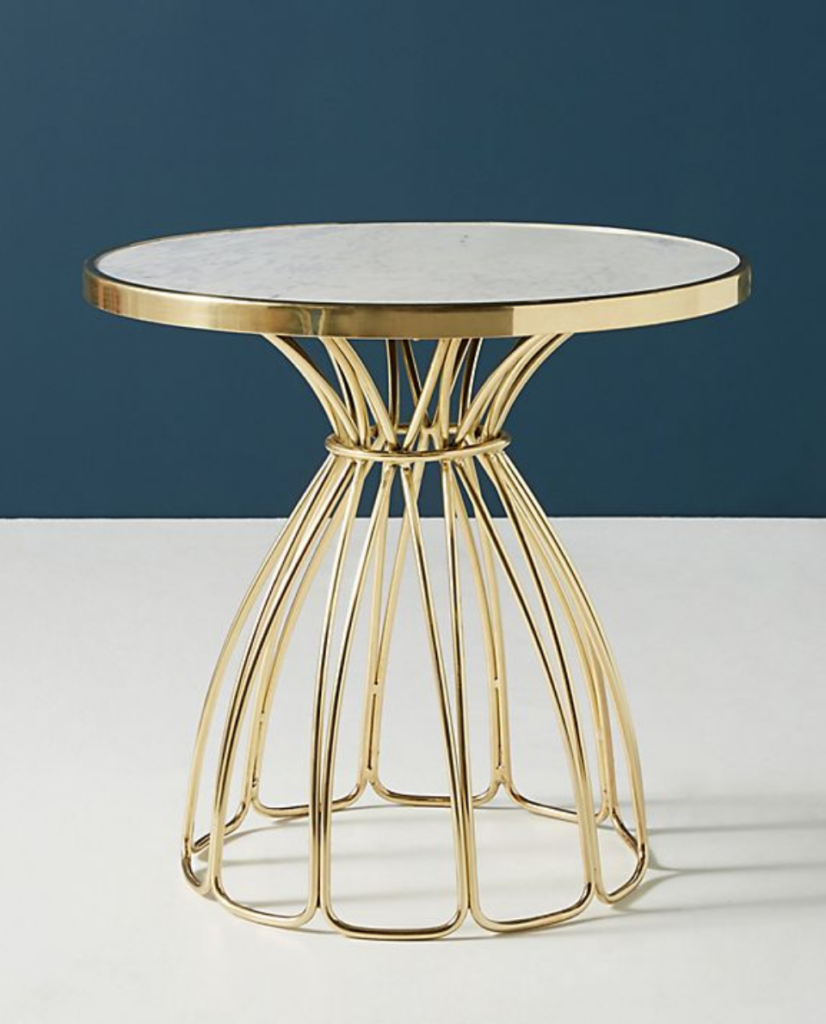
- Another thing that is both 1) functional and 2) visually “intentional” (I’m going to keep using that word, because Apartment Therapy threw it around without it meaning a damn thing) is a dedicated piece of furniture for your instrument case or musical accoutrements. That can be a bench to place your violin case as you’re unpacking it, or a little end table to keep your oboe reeds; it’s the smallest thing, but having dedicated space for that stuff (as opposed to just piling your things on the coffee table or the cleanest patch of floor) feels so luxurious. Bonus if said piece of furniture doubles as storage; a lot of benches, end tables, and ottomans have drawers or compartments for hiding your shame.
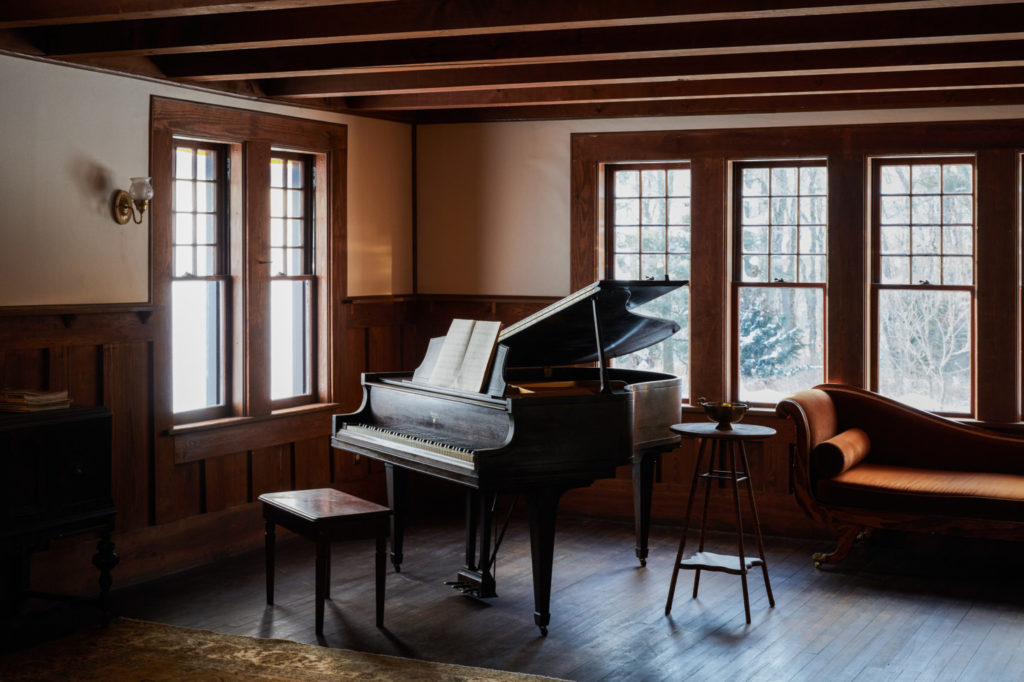
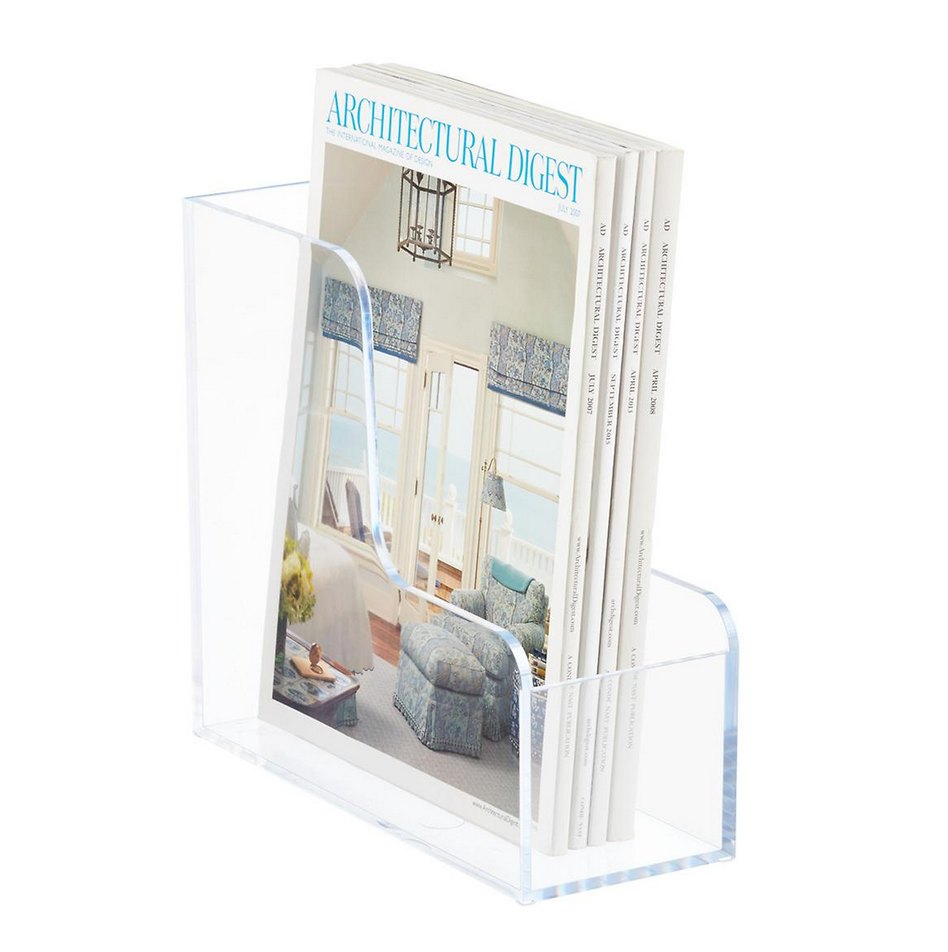
- You can usually tell I’ve been in a room when there’s loose sheet music all over the place. (I’m trying very hard to be better, but sheet music is like gas; it expands to fill the space it’s in.) Oversized magazine holders are great for corralling loose music; keep one or two on or near your Dedicated Musical Furniture. If you have the wall space and the inclination, those home office organization folder systems that go on the wall work well too.
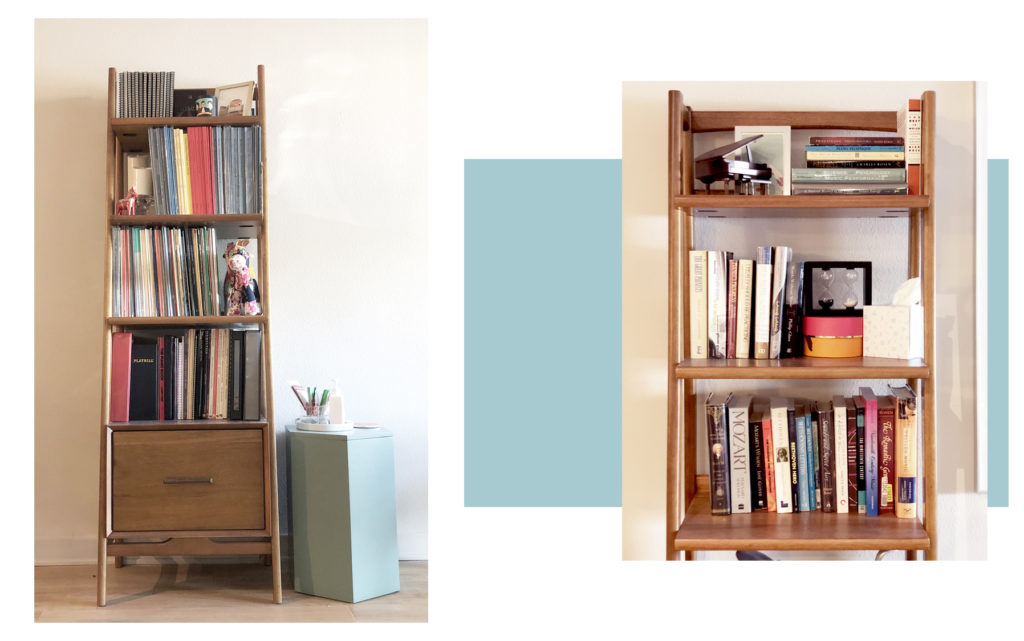
- Okay, you need a proper bookshelf for your music library. I spent years searching for the solution; a lot of bookshelves don’t fit standard sheet music, which is about 12.25” high, and the ones that do often aren’t built to hold the weight of a whole shelf of sheet music (this stuff, packed together, is HEAVY) and bow downward over time.
I used the IKEA EXPEDIT (now KALLAX) system for some time and can hesitantly recommend it; the KALLAX unit cubbies have fit all my sheet music and the units themselves double as handy room dividers. The thing I didn’t like was that the square cubbies were somewhat limiting in terms of organization; I had a system where I had one cubby for each era of music history, and my Romantic Era library easily overflowed its space.
The shelf I settled on, and love fiercely, is the Mid-Century Bookshelf from West Elm; the shelves are tall enough for standard sheet music with some clearance, and they’re solid enough that they don’t buckle under the weight of my library. (If you have sheet music that comes in a box, the box itself will not fit; my Barenreiter boxed set of Mozart’s complete solo piano compositions was just too high to fit vertically, but the books themselves fit fine.) One of the best parts is that the bookshelf has a spacious drawer that can double as a filing cabinet (it comes with file hangers that just slot into the drawer), so I have a place to 1) sort my loose sheet music in organized folders by composer and 2) stash my piano tuning tools, which, while useful, are not aesthetically pleasing. If you play a small instrument (shout-out to my flute players out there) it can even go in the drawer when you’re not playing it.
- It’s likely you have not one, but multiple music stands, and my solution for that is: fold up the portable ones and stash them somewhere, then cluster the non-portable ones in a corner somewhere and use them to hold your errant flyers/programs/visual ephemera. Voila, design.
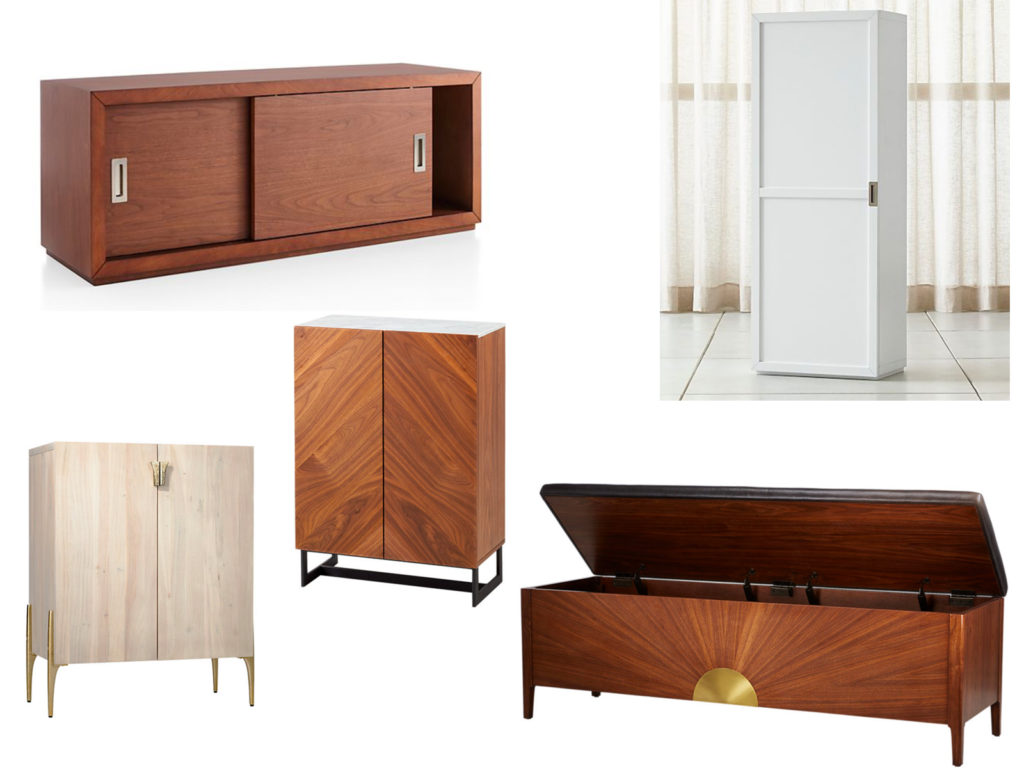
- If you’re polymusical (a term I just made up to describe people who play a ton of instruments), and your various (cello-or-smaller) instrument cases are stacked in a corner, might I suggest getting a wardrobe or media console large enough to store your instruments in their cases? If you get a unit with adjustable or customizable shelves, you can make reasonably sized homes for all your instruments. One thing I do recommend, if possible, is bracing the wardrobe, cabinet, or console to the wall (a thing most tall furniture pieces recommend that I think most people never do) because you do not want your precious instruments in a thing that can be knocked over (or, in California, toppled in an earthquake).
Finally, don’t stress about the fact that you have instruments and your living room doesn’t look like a catalog spread. The fact that you play music instantly makes you cooler than the rest of the population (this is 100% fact), so you’re already ahead of the game. The tips and principles I’ve offered? They’re aesthetic guidelines created based on my own experience as a musician, meant to ease your decorative problem-solving, but they are not commandments on how to live. You are a cool, well-rounded, accomplished person who makes music, whether or not you have velvet curtains flanking your practice space.
Unless you’re the type of person who wants to paint their piano. In that case, you can go **** yourself.
If you liked this post, please consider supporting me on Patreon. By doing so, you’ll enable more blog posts and music-making!
Leave a Reply